- Compare agents
- Online valuation
- Explore my area
- Home toolkit
- News & guides


- Estate agents by area
- Sold house prices by area
- Estate Agent ValuationRequest an in-person valuation with an agent to discover your property's true market value.
- Online Valuation ToolGet a free instant estimate of your home's value.
- EPC CheckerFind out if your home has a valid Energy Performance Certificate.
- Listing MonitorAlready on the market? See how your online property advert is performing.
- Selling guides
- Estate agent guides
- Mortgage advice
- Conveyancing guides
- Property news See All News & Guides
Agent shortlist
HouseWorth
Add value to your home15 January 2024
How deep should a fence post be?
Kimberley Taylor
Writer & Researcher

Estimated reading time: 7 minutes
Table of contents
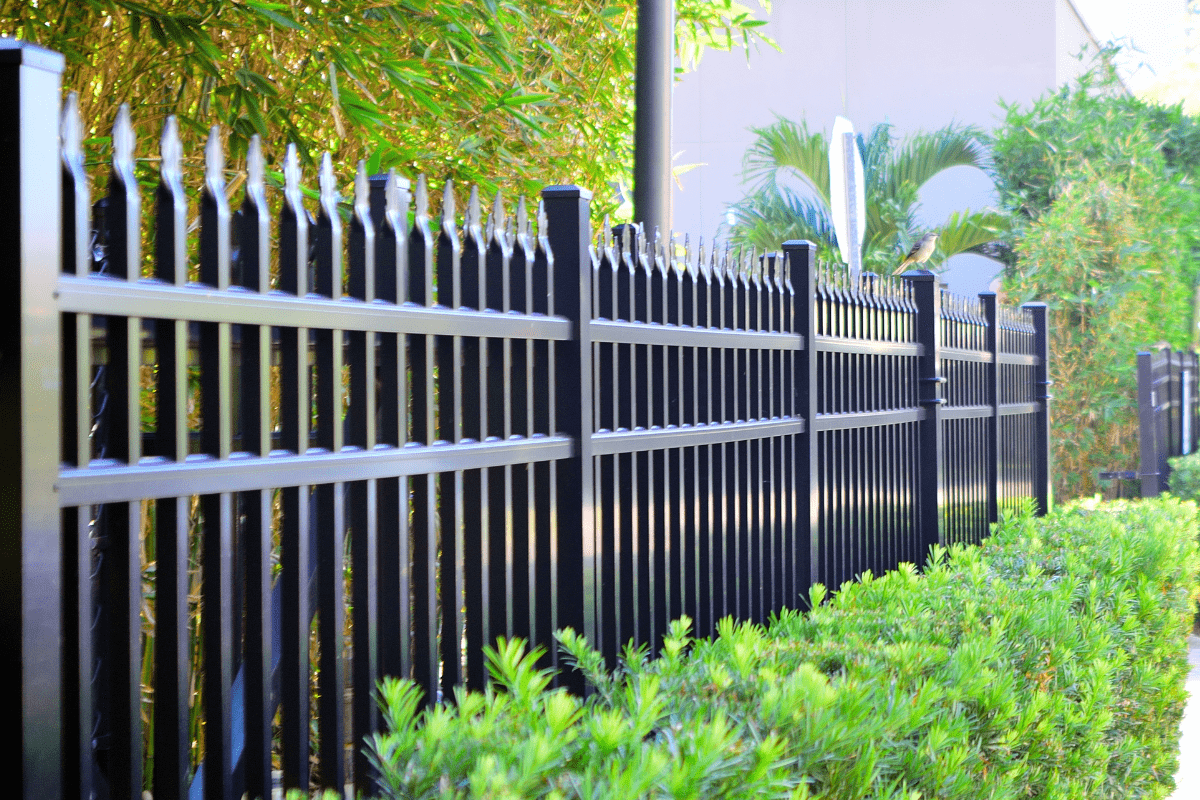
There are so many reasons you may want to build a fence. Maybe you want to create a fence line to mark the boundary of your property. Or maybe add some colour and pzazz to your garden. Or it might be to add another level of security to the property.
But how deep should your fence posts be? It's a common question, and one we hope to answer for you in this blog.
A good fence post depth ensures your fencing is strong, secure and long lasting, whilst also providing good durability. But how deep your fence post holes should be depends on a number of factors, from the material of the fence to the height of your fence.
So, let's 'dig' in!
How deep should a fence post be?
How deep a fence post should be depends on the ground conditions and the fence height. As a general rule, the fence post hole depth should be one third of the total length (leaving two thirds overground).
So if you're using six foot tall fence posts, four feet should be above ground. This keeps your fence stable, secure, and helps protect against wind damage.
The two foot rule
Experts often recommend you should dig a fence post hole at a depth of two feet (24 inches or 600 millimetres). This will ensure your concrete or timber posts stay sturdy.
Fence post depth standards
If a fence is less than 1.5 metres high, the depth of its fence posts should be around 0.6 metres. For other fence heights, they should be 0.75 metres. This goes for straining posts (end posts) and intermediate posts.
And remember - if you're installing wooden fence posts you need to make sure they never touch the ground. Otherwise you could be dealing with rot and other damage over time.
Concrete posts have to be a minimum of 0.45 x 0.45m or 0.3m in diameter if they're round.
Square holes for intermediate concrete posts for fences up to 1.4 m need to allow at least 75 mm of concrete all round the post. And for round holes, fence posts need to be set in the centre of the hole.
Gravel boards
Gravel boards can have either timber or concrete footing. They're really good to use as they increase the durability of your fence panels, which means you won't need to keep replacing them - making it much more cost effective in the long-term.
Gravel boards also add height to your fence and give the fence panels a neater, cleaner finish.
How to install a fence
Measure fence height
To find out the correct hole depth of your fence post holes, you first need to measure the overall height of your fence using a tape measure.
Measure gravel board height
You'll then need to measure your gravel board height. If you're using Trellis to add something extra to your fencing, make sure you measure the height of the Trellis too.
Add post hole depth
Add the fence panel height, gravel board and trellis to the two foot post hole depth to calculate which type of fence post you'll need.
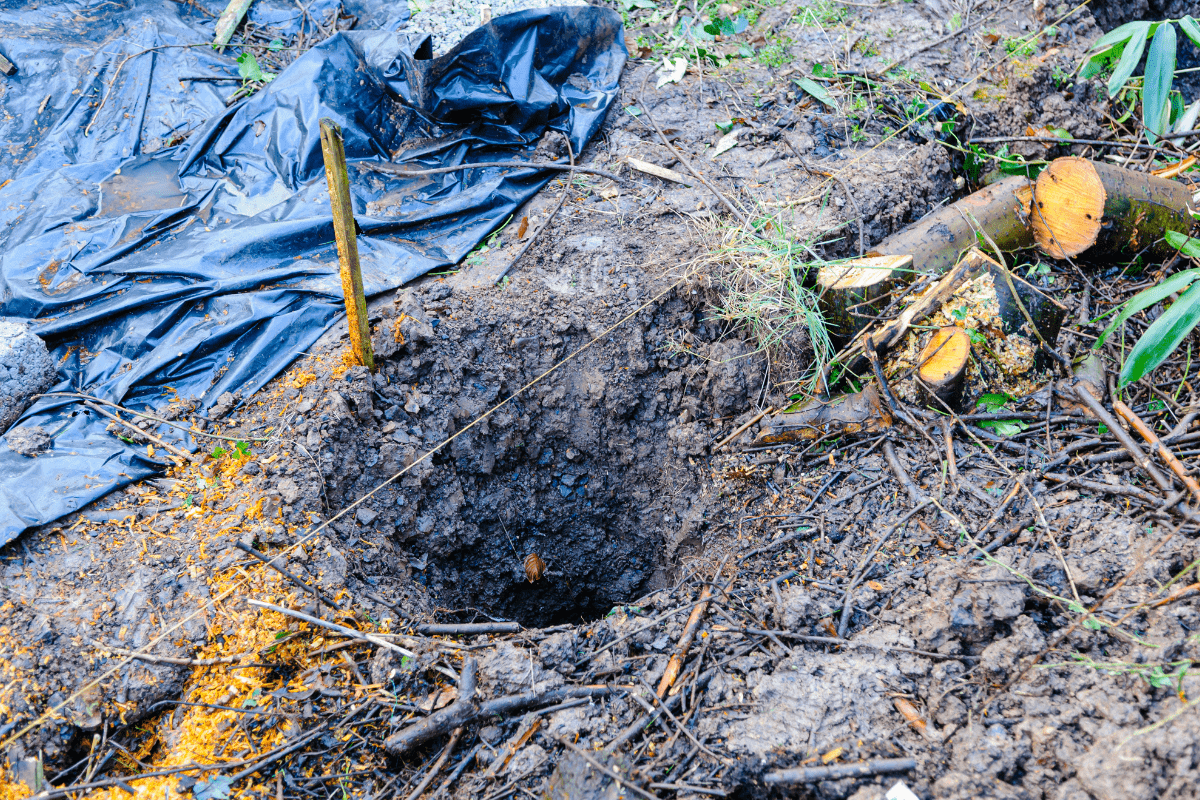
Digging fence post holes
Before you install fence posts, you need to work out the correct depth and width of the fence post hole to ensure it stays in place and upright.
It's often recommended to dig the post hole around three times wider than the fence post, no matter what size the fence posts are.
Once you've got the fence post hole depth, it's time to start digging! How long it takes to dig will depend on the type of soil you're working with - loose soil will be easier to dig out. But if you're working with clay or rock soil, you may have to use special tools to remove it.
When you're digging, you also need to make sure the fence post hole is wide enough at the bottom. This lets the concrete form around all sides of the fence post, providing extra support.
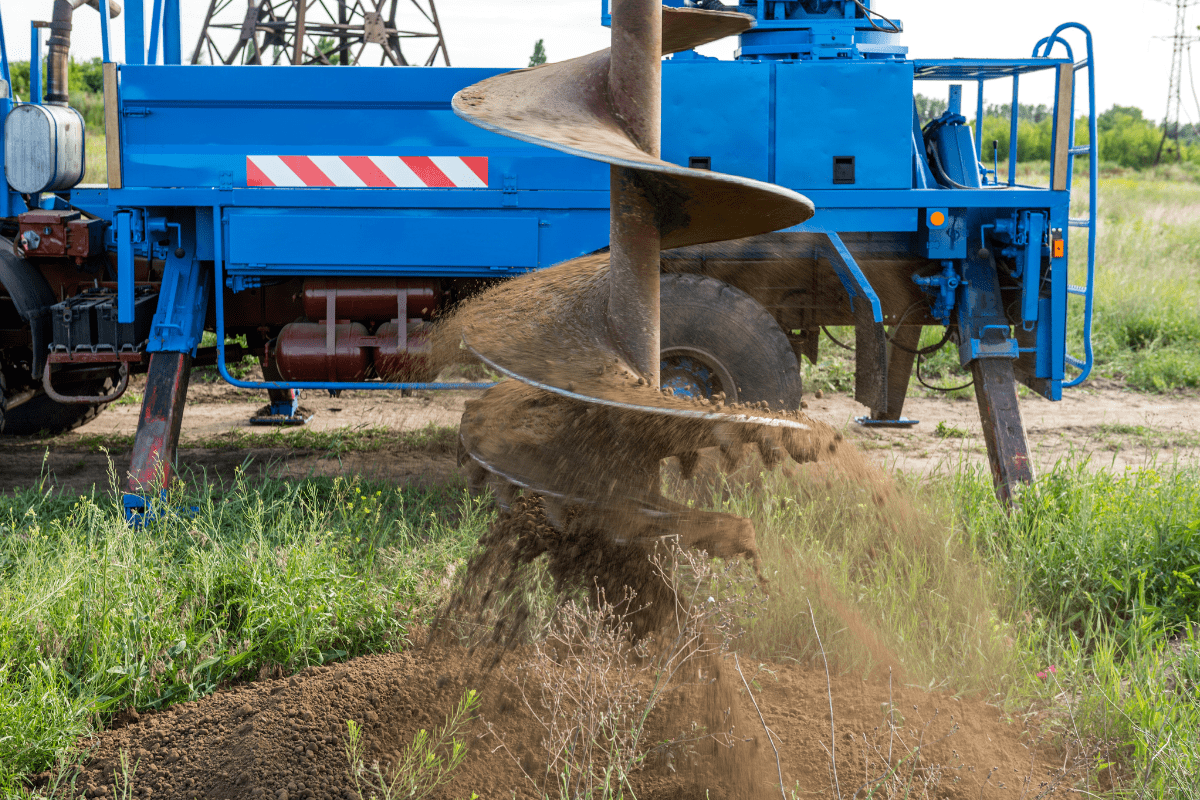
Using a power auger
Power augers are good for post hole digging. They are a type of post digger that make the job a whole lot easier - and in a lot of cases are the only viable option for digging your fence post holes.
Traditional digging vs using a power auger
If it's your first time installing a fence, you might not know how to use a post hole digger like a power auger. First, let's take a look at the traditional method.
Traditional method:
Make sure you have all your tools prepared: a variety of shovels, a clamshell digger and a steel spud bar. You'll then need to dig a pilot hole using a pointed shovel. A pilot hole refers to a shallow hole that marks where your fence posts will go.
Before using the clamshell digger to deepen the hole, make sure to remove any topsoil around the pilot hole. You'll also need to use a steel spud bar to loosen any rocks or hard soil while you're deepening the hole.
Keep digging until you've reached the right hole depth - and you're good to go!
Using an auger:
If you're going with a power auger, all you'll need is the auger and a shovel to dig the pilot hole. Position the auger where you want the post hole to go, turn on the tool and drill it to the desired depth. Once you've dug deep enough, turn the auger off and lift it out of the hole.
Concrete mixing and pouring
Using a concrete footing or concrete post can help with the strength and durability of your fencing project. If you're making your concrete mix by hand, pour water slowly until you reach a thick but spreadable consistency. Then pour the mix into the holes surrounding your fence posts.
Once you've poured it into the holes, add water on top of the concrete mix, then use a trowel or stick to smooth out any lumps. This will help it to set properly around your fence post.
Safety concerns
Cables and pipes
Before you get started, you need to address any risks or dangers that might be in the ground. For example, there could be electric cables, gas pipes, fibre cables or water pipes below the ground that could be damaged by shovels and post hole diggers.
In general, buried electric cables and gas pipes should be at least 600 millimetres below ground level, but it's not always the case - so always remember to double check. You can check with your utility suppliers to see where the cables and pipes are likely to be positioned.
Past holes
It's also really important to never leave any previous post holes unattended. And if you need to leave what you're working on, make sure you cover all your post holes with something suitable (ply board, for example). This will minimise any tripping hazards and help avoid broken legs!
Summary: Remember the two foot rule!
The bottom line? Remember the bottom line! As a general rule of thumb, your post holes should be two feet - this will usually be suitable for most posts.
If you can't manage the physical work, there are tools you can use to ensure the digging is done as accurately and efficiently as possible - just make sure you have your initial measurements worked out properly first!
Adding fencing to your property can be a great way to add value to your home, especially if you're looking to sell.
If you're ready to sell your home, don't forget to use our Estate Agent Comparison Tool to find top-performing agents in your area.
Thinking about
selling your home?
Picking the right estate agent is vital for a successful sale. GetAgent makes choosing simple. Discover the best performing agents in your area.
- Free
- Data-driven
- No obligation
Thinking about
selling your home?
Picking the right estate agent is vital for a successful sale. GetAgent makes choosing simple. Discover the best performing agents in your area.
- Free
- Data-driven
- No obligation

Compare estate agents
It takes 2 minutes.


Get in touch
020 3608 6556
Our lines are closed
We are a company registered in England & Wales, company number 09428979.
Copyright © 2026 GetAgent Limited